


Microsoft Teams is a popular collaboration platform that allows users to communicate, share files, and collaborate on projects in real-time. One of the features of Microsoft Teams is the ability to set your “status” – a message that appears next to your name and lets your teammates know your availability.
Change your Presence Status on Microsoft Teams
By default, your status in Microsoft Teams will automatically change based on your activity. For example, if you are actively using your computer, your status will be set to “Available.” If you step away from your computer, your status will change to “Away.”
However, you can also manually change your status in Microsoft Teams if you want to let your teammates know your availability or if you want to set a duration. Here’s how to do it:
1. Open Microsoft Teams on your computer.
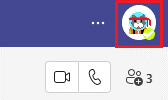
2. Click on your profile picture in the top-right corner of the screen.
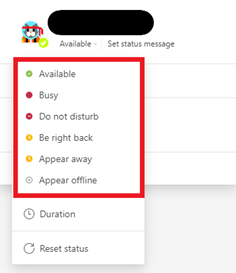
3. Click on the “Set status message” option from the drop-down menu.

4. From the “Set status message” window, you can select a predefined status from the drop-down menu, such as “Available,” “Busy,” or “Do Not Disturb.” You can also type a custom message in the “Type a custom status” field.
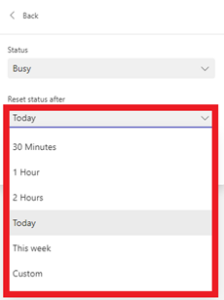
5. If you want to change the duration of your custom status, click on the “Set for” drop-down menu, and select the amount of time you want your custom status to last. You can choose from options such as “15 minutes,” “1 hour,” or “Until I turn it off.”
6. When you are finished, click the “Done” button to set your new status.
That’s it! Your new status will now be displayed next to your name in Microsoft Teams, letting your teammates know your availability. If you want to change your status again later, simply repeat these steps. As an outsourced IT firm, we will help to implement Microsoft 365 by providing expertise and resources to develop, implement, and manage the platform. For more information, visit our IT Outsourcing & Managed Services page.