


Welcome to the modern world, where everyone works weird hours. Sending emails at the wrong time can make people feel obligated to respond after hours, or they may miss your message all together. Take advantage of Outlook’s scheduling feature to keep your email schedule consistent, and your coworkers and associates happy. Have an important thought at 9 PM that you don’t want to forget? Write it out and schedule it for the first thing in the morning, here’s how:
How to Schedule an Email in Outlook
Step 1: Compose your email:
Before scheduling an email, make sure to compose the message with all the necessary details, attachments, and recipients. Once you’re satisfied with the content, it’s time to schedule it for a later time.
Step 2: Access the “Options” tab:
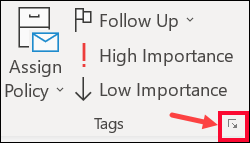
After composing your message, select the More options arrow from the Tags group in the Ribbon.

Step 3: Schedule your Email:
Under Delivery options, select the Do not deliver before check box, and then click the delivery date and time you want.

Step 4: Review and Send:
Take a final look at the email content, recipients, and attachments to make any necessary changes. Once you’re satisfied, click the Send button as you would for any regular email.
With the ability to schedule emails in Microsoft Outlook, you can take charge of your inbox and optimize your communication workflow. By scheduling emails, you can ensure messages are delivered at the most appropriate times. Embrace the power of email scheduling in Microsoft Outlook and witness the positive impact it has on your efficiency, productivity, and overall work-life balance.
How to Schedule an Email in Outlook Mobile
Step 1: Compose your Email:
Open your Outlook Mobile app and compose your email as normal. Make sure to compose the message with all the necessary details, attachments, and recipients. Once you’re satisfied with the content, it’s time to schedule it for a later time.
Step 2: Access the Scheduling feature:
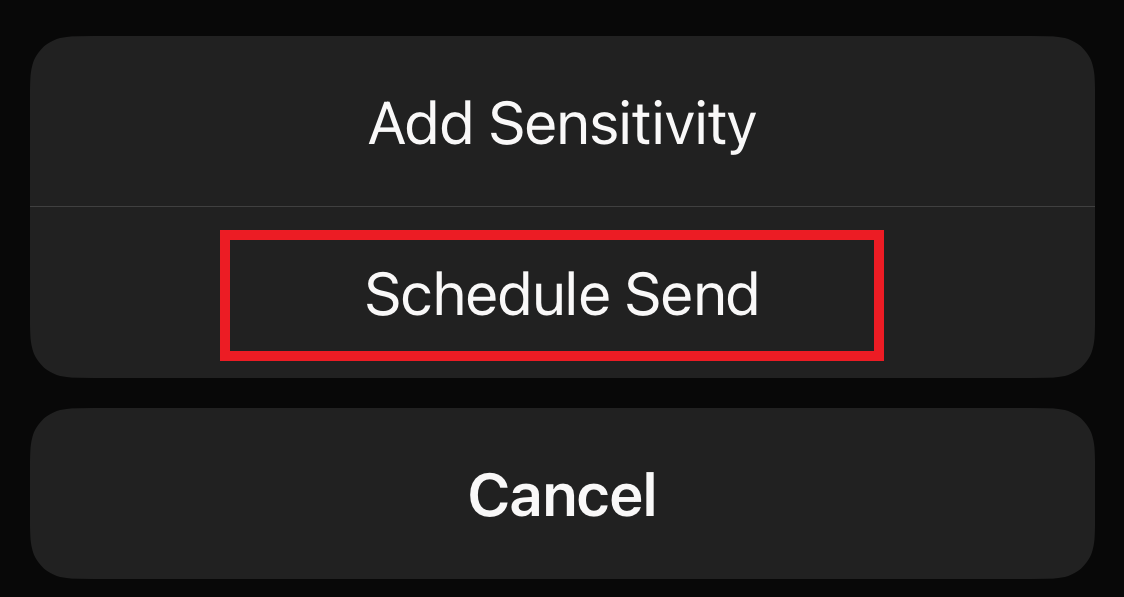
After composing your email, look for the three-dot menu icon. Tap on it to reveal a drop-down menu with options. From this menu, select Schedule Send.

Step 3: Choose your time & date
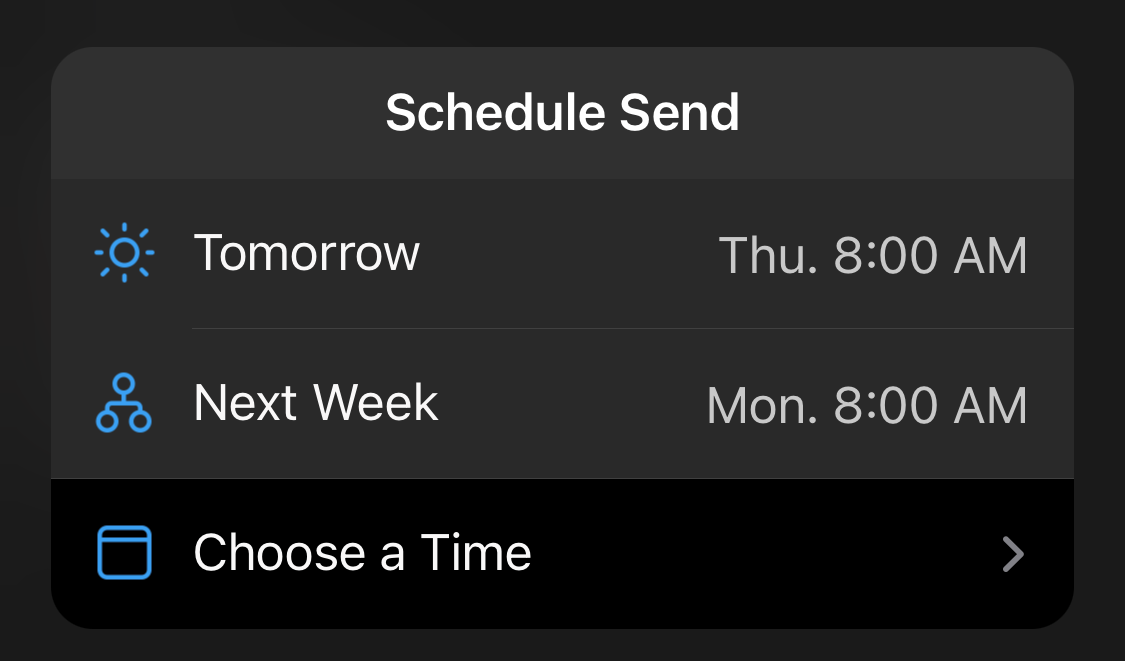
Upon selecting Schedule Send, you’ll be presented with a list of suggested time slots, such as Tomorrow Morning or Next Week. You can also tap on the Pick Date and Time option to select a specific time and date of your choice.
Step 4: Confirm & Schedule:
Once you’ve chosen your preferred time and date, review the scheduling details to ensure everything is accurate. If everything looks good, tap on the Send button to set your email for sending.
More on Microsoft 365
Visit our Microsoft 365 Insights & Resources page to see more Microsoft tips & tricks! Whether you’re considering getting Microsoft 365 and trying to figure out which tier makes sense for you, or if you already have Microsoft but want to get more value from your M365 tools and services, there is something for you.