


To make managing and analyzing a group of related data easier, you can turn a range of cells into tables in Excel (previously known as an Excel list).
How to Use Tables in Excel
Using Excel Tables
A table typically contains related data in a series of worksheet rows and columns that have been formatted as a table. By using the table features, you can then manage the data in the table rows and columns independently from the data in other rows and columns on the worksheet.
*Note: Excel tables should not be confused with the data tables (data table: A range of cells that shows the results of substituting different values in one or more formulas. There are two types of data tables: one-input tables and two-input tables.) that are part of a suite of what-if analysis commands.
To Apply a Table:
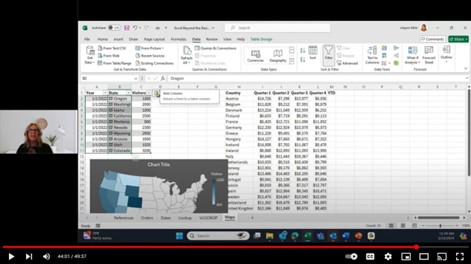
- Click inside the data range.
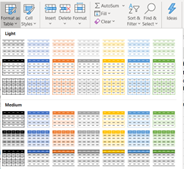
- From the Home Tab in the Styles Group click on Format as Table.
- Click on one of the preformatted options.
- Use the Table Tools to make changes to the Table.

Sorting and filtering
Filter drop-down lists are automatically added in the header row of a table. You can sort tables in ascending or descending order or by color, or you can create a custom sort order.
You can filter tables to show only the data that meets the criteria that you specify, or you can filter by color.
(Drop-down list box: A control on a menu, toolbar, or dialog box that displays a list of options when you click the small arrow next to the list box.)
Formatting table data
You can quickly format table data by applying a predefined or custom table style.
You can also choose Table Styles options to display a table with or without a header or a totals row, to apply row or column banding to make a table easier to read, or to distinguish between the first or last columns and other columns in the table.
Remove a Table
If you chose to remove the Table features from a range of data you can do so by:
- Select the table
- From the Design tab in the Tools Group, click on Convert to Range.
Watch the full training
Watch the full training to learn advanced Excel techniques and best practices. You’ll get a quick overview of Excel’s advanced features and common business use cases. No matter what your experience with Excel is, you’ll leave this training with something new.